This article contains numerous corrections and additions to existing posts. Those are mentioned here, in a separate place, simply because they are not included (yet) in the PDF downloads and because I like to keep my main posts and the PDF in sync.
Poser the Program – 6. Library
Dockable Library
The manual states that the Library Window, in a 64-bit Poser Pro, cannot be docked. This is indeed the case with Poser Pro 2010, where the General preferences, Library tab, Lauch behavior is greyed out.
However, in Poser Pro the “embedded’ option can be checked when one has the 64-bit version of Flash installed as well. This might be still in beta, but nevertheless.
(thanks to Wim van de Bospoort)
Library File Types
I have stated incorrectly that when you’re in say Characters, you only can see Characters (cr2/crz) items in the Library. Not correct, you can see and use all types of items. This means that you can put dress, accessoires, materials, poses and the like all in one folder, and subfolders. This prevents the scattering around of all sorts of files which you wan to stick together.
(retest as suggested by GeneralNutt and BagginsBill).
But…
- when you’re in say the Characters environment, you only can add Character items to Favorites. Not the Poses. So from Props, you can add the dress but not the mats. It’s inconvenient, in my opinion.
- when the dress has say 20 mats in one folder, you have to add those mat items individually to Favorites, you cannot add a shortcut to the folder itself. It’s cumbersome, in my opinion.
- and the only way to save say Hair is selecting the Hair option in the Library. Add to Library then enforces saving in the main Hair folder. No way to save the mats then in a Mats subfolder in the Hair environment (thanks to ElZagna).
Of course the files can be moved afterwards using Explorer or so, but nevertheless.
For me, P3dO is the content manager of choice.
Poser the Program – 8. Strategies
People using Poser, or Poser Pro in a 32-bit environment, cannot profit from rendering in Queue. Especially for them, but probably for other users (and other uses) as well, the Scripts menu, in Partners, Dimension3D offers the Render Scenes and Render Content (in a standard scene) scripts.
Plus the Render Firefly script with all options in one pane, and the possiblity to go beyond the Poser max settings. So one can set max Raytrace Bounce to 100, if needed.
Poser Render Passes
In the preliminary versin of the tutorial, I have not discussed working with the Ambient pass. In those cases where the Ambient of materials is used to present glowing elements of clothes or buildings or alike, those layers can be used to create an additional glow to the image.
However, when Ambient is used to correct for lighting issues in the scenes, or for emulating surface scattering as might be done with human skin, the Ambient layer is hardly worthwhile to process separately. Your image, your call.

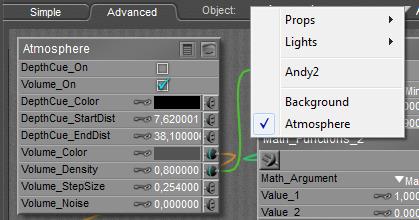
 Various causes can cloak my atmospherics:
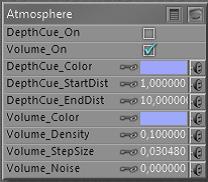
 or
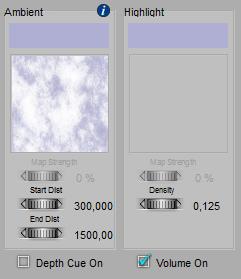
or 