The Cloth Room presents four panels, numbered 1..4, and they have to be visited in that order at least once. That is: I’ve got to start in panel 1, I’ll always end in panel 4 to click [Calculate Simulation], I can’t make sense out of panel 3 without a visit to panel 2 first, etcetera. Once under way, I can jump back and forth at will.
Panel 1. Cloth Simulations
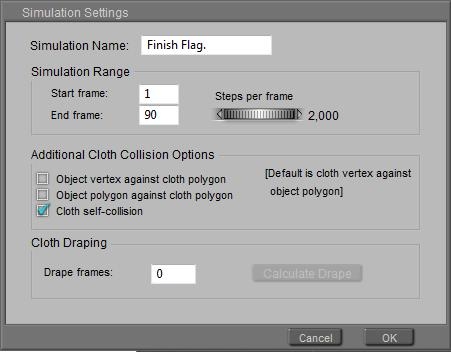
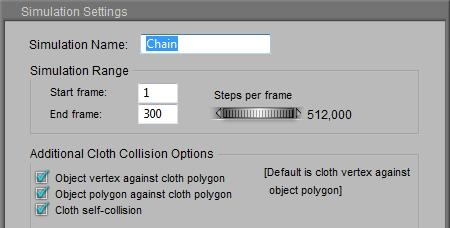
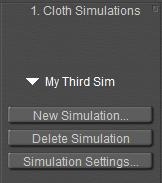
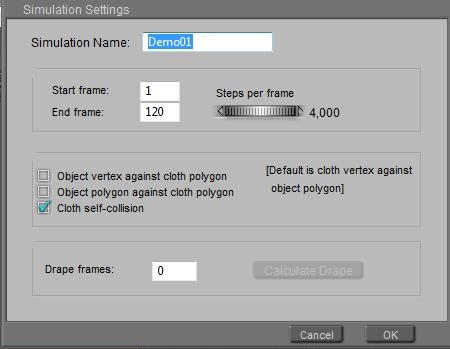
In this panel, I click [New Simulation] to add a new simulation (“sim” for short) to the list. The properties panel presents some magical settings for the calculation algorithm, but for now I just enter a meaningful name. And I add some more sims, just to get a feel for that list, which is part of the Poser scene and gets saved with the scene file.
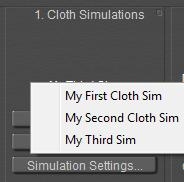
The triangle opens the list so I can pick one to work on, and then its name is shown in the panel. [Delete Simulation] removes the sim from the list, [Simulation Settings] just re-opens the settings panel to alter the name and the other settings. I’ll deal with them later, in Sim Engine \ Collision tests (part III). So this panel links the sim to any other sims in the scene.
Panel 2. Cloth Object
In this panel of the Room, I can define the contents of the sim at hand. This links the sim to the Poser scene. The sim works with two categories of objects: Cloth Objects and Collision Objects.
Cloth objects
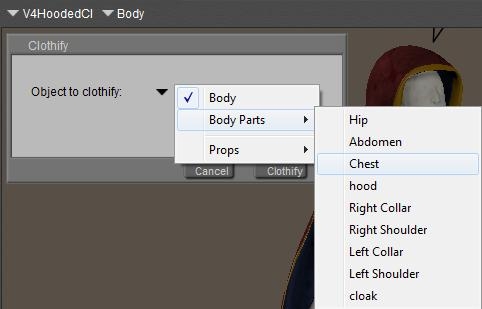
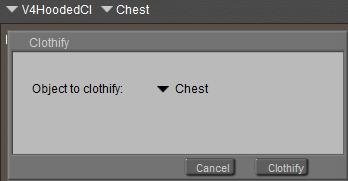
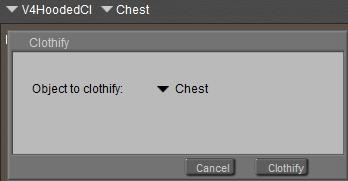
Cloth objects are 3D meshes (made out of vertices, edges, polygons), and the sim can move and deform them while they collide to themselves, to each other and to the collision objects. I select a figure or prop in the scene, eventually a named part of it, and click [Clothify].
Or I just click that button, and it gives me the whole (Body) or part (both for the selected figure only!) or props in the scene.
When there are more figures in the scene I’ve got to select one in the Poser preview window, then I can clothify (a part of) it. I cannot switch to another figure while handling the clothify list at the same time, nor does the list tell me which figure I’m working on. Yes, when I’m clothifying multiple figure parts with the same name from different figures, I’ve got a problem. They all have a Chest and a Hip etc so I’ve got to watch the preview window very well.
So each sim has its own list of clothified (sub)objects, or: cloth elements. Of course [Unclothify] removes a cloth element from the list of the sim at hand.
Troubleshoot: the lists of body and bodyparts are obtained from the group definitions in the underlying OBJ mesh file. For various reasons some groups may be present, but are sort of empty from a clothing point of view. In that case, these groups cannot be clothified. In the example above, I can select Body from the list but the clothify selector keeps on returning None. Then I have to pick the cloth parts separately.
Note that there is hardly any need for fancy tricks to turn a piece of clothing into dynamic. Forums are full of “hybrid clothing” but the general idea is that you can load a clothing set, conform it to a figure, then pick one piece of that set only and turn just that part into dynamic by simply clothifying it. Okay, I know, general ideas don not work out as expected in all cases, and sometimes more issues might come up. I’ll deal with them later, in Meshes and Sims \ MultiCloth (part III).
Collision objects
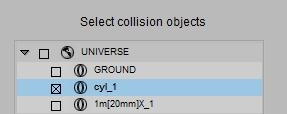
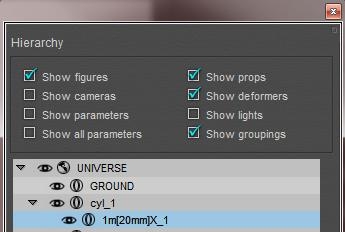
Collision objects are 3D meshes also, and although Poser itself can move and deform them during an animation, the sim will take their position and shape for granted (although varying over time). Clicking the [Collide Against] button gives me a full hierarchical view on the scene, and I can click anything I want at any level of detail. Simply selecting Universe will add anything to the collection of Collision Objects for the sim at hand.
Some notes:
- I’m not obliged to have a Collision Object, the sim runs perfectly without although the cloth will not collide to anything at all. Having at least one sim (panel 1) and at least one cloth object (panel 2) is obliged.
- When I select objects that the cloth will never collide with, I’m just increasing my calculation time somewhat without additional benefits. It won’t hurt though. When I don’t select objects which the cloth will or does collide to, the cloth will just fall through them. It’s up to me to find the balance.
- The Poser GROUND is an object which can be a Collision object but cannot be a Cloth element. It just misses from the list of props when I [Clothify], and when I deliberately select it and use [Clothify], it just won’t, without a message.
- A (part of a) mesh cannot be a cloth element as well as a collision object (in the same sim). Clothifying removes it from the list of collision objects automatically. Unclothifying puts it back, but only if it’s part of a figure which by itself is in the collection of collision objects. Once clothified, I can check them in the hierarchical scheme of elements but they just won’t be added to the list of Collision Objects, and the checkbox will be blank next time I open the list again.
-
When an object (or part thereof) is made invisible in the preview, it will not be taken into account in the calculations. Neither as a cloth element, nor as a collision object. So, before running sim calculations, helper objects should be made invisible so they can’t affect the result. But objects that just should be left out of the render result should be made invisible after running the calculations.
In Poser 9 / Poser Pro 2012, objects can be made Invisible to Camera instead.
For example, in older versions of Poser I ran the calculations, and I solved some minor poke-through issues by just hiding the bodypart which was fully covered by the cloth anyway. Then, for whatever reason, I wanted a rerun of the calculation. This usually was a disaster, because I always forgot to unhide that body-part first.
With the new Poser versions I don’t have that issue anymore. I don’t hide, I make Invisible to Camera.
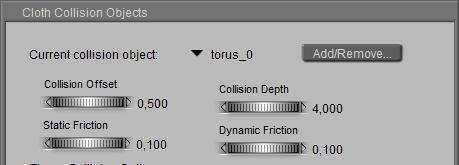
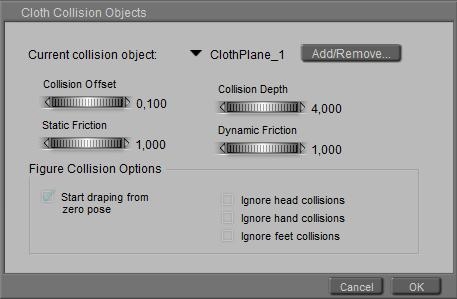
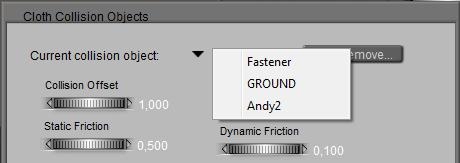
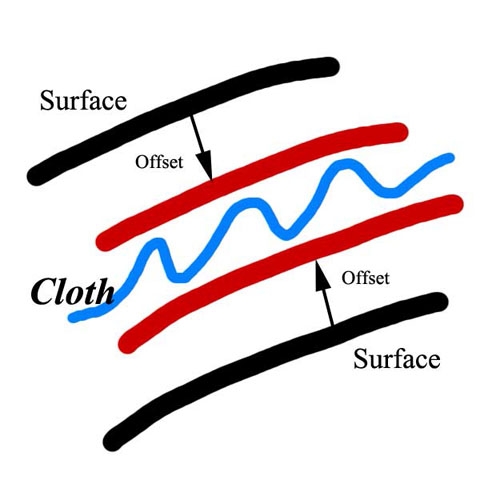
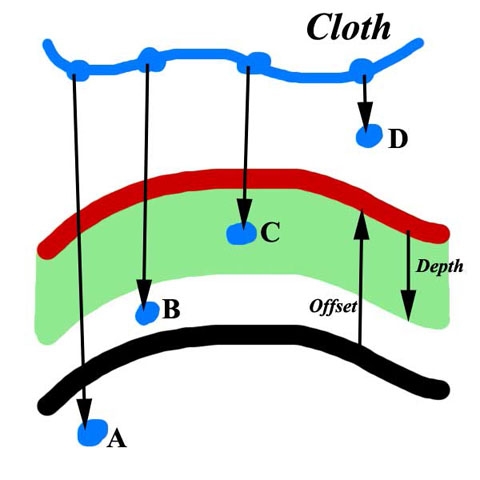
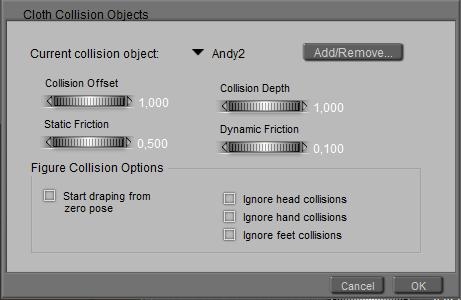
The window I’m in now has a triangle showing the list of Collision Objects, at the prop / figure level, without the underlying details. I can select one (which shows), and for that one I can set specific parameters: Collision Offset and Depth (see Sim Engine \ Offset+Depth (part III)), and Static / Dynamic Friction (see Real World \ Friction (part III)).
Each Collision object has its own set of parameters (for the sim at hand), so any change in these is specific for that Collision Object. A global doubling of, say, all collision depth values for whatever reason hence need to be done for each object in the list separately.
This is something that usually goes wrong: a sim calculation falls apart, I want to raise the collision depth, and only do so for the object selected instead for all the relevant ones.
The Cloth Objects panel shows (triangle again) the list of clothified elements, and the one selected. For this selected one, I can add more details in the next panel of the room.
Panel 3. Cloth Groups
In this panel, the details of a cloth element can be further defined, if I want to. For the 3D mesh at hand this works on a vertex level, and there are four ways to exclude a specific vertex (usually: a group of vertices) from the sim calculation itself.
-
Choreographed group
the vertices follow the moves and deforms which are defined in Poser for that (part of the) cloth mesh, that is: follow their own settings in the animation. They can move by themselves, hence: choreographed, as I am the choreographer when defining the animation. This includes all moves that result from being conformed to an animated figure, or follow from some parent/child relationship with another object.
For example:
I like to represent a towel, which hangs on the wall at one corner of it, then falls off and lands on the ground.
- I animate the towel. First for a lot of frames it’s at the same height at the wall, then it comes down. I ignore all effects from hanging at its corner, I just animate it as a whole.
- I clothify the towel (or clothify first, animate later, Poser does not care), make it collide to the ground, then I [Edit Choreographed Group] and I pick just one vertex in the corner. Now this vertex will follow the towel animation, and all other vertices in the towel will be involved in the sim.
- I [Calculate Simulation]. The single corner vertex will stay at its place for a lot of frames and the rest of the towel starts to hang down diagonally. Then the corner vertex comes down according to is animation, the cloth comes down accordingly but meets the ground and starts folding a lot. That’s it.
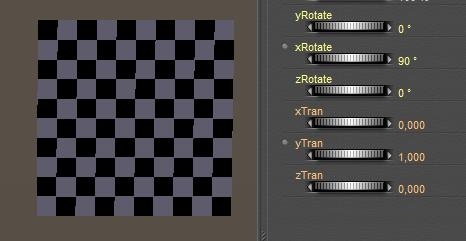
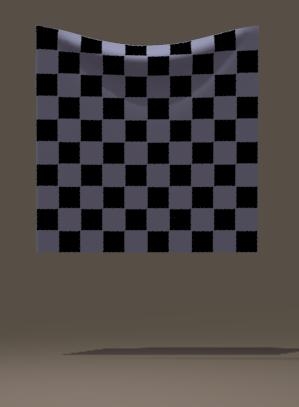
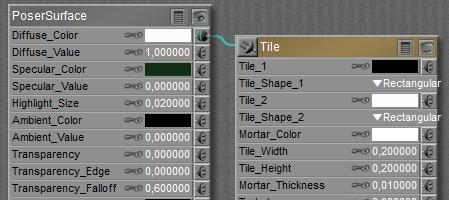
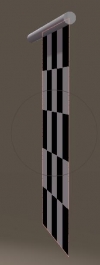
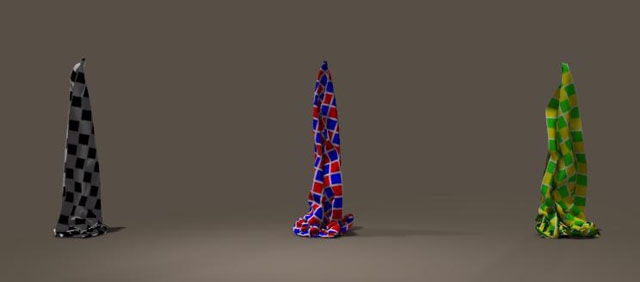
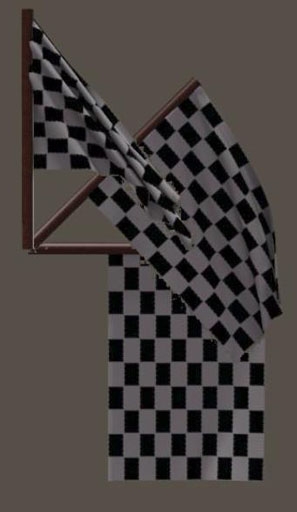
- So, to hang a banner or so in the scene, I can just leave the cloth object unanimated, select the upper row or just a single vertex or whatever (left and right upper vertex will hang on two points) into the Choreographed group, and run the sim. Without any choreography of themselves the selected points stay put, and the rest deforms according to the sim.
-
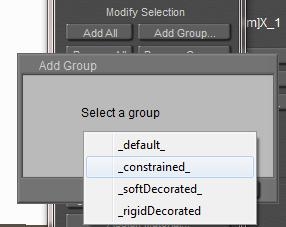
Constraint group
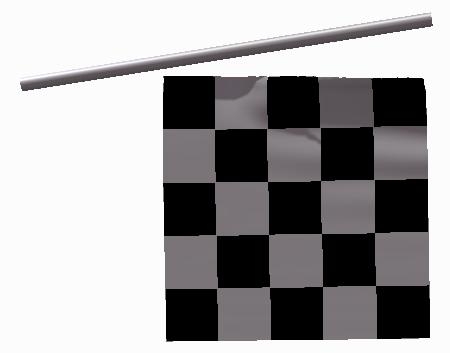
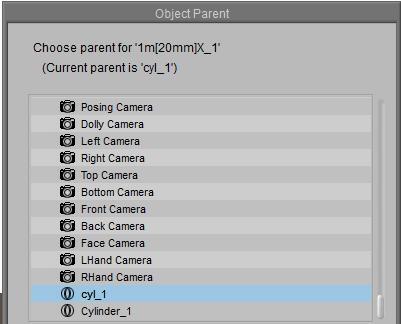
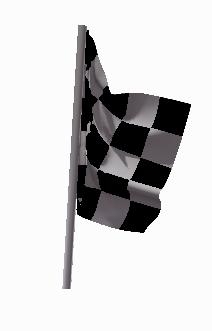
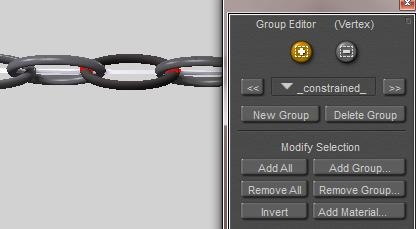
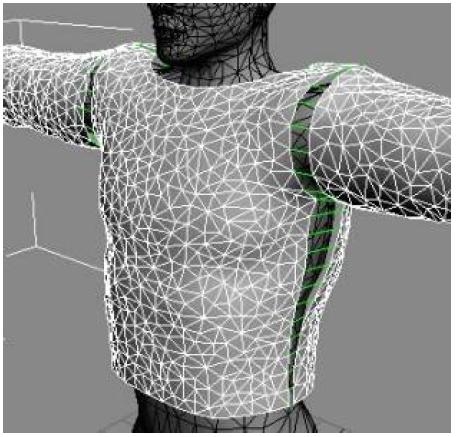
the vertices follow the moves of the underlying collision object which they are pinned to. By stapling a piece of cloth onto a pole I can make a flag, by attaching dress straps onto a girls shoulders I can force them to stick. However, I cannot stich pieces of cloth together when these are both in the cloth elements list of the same sim.
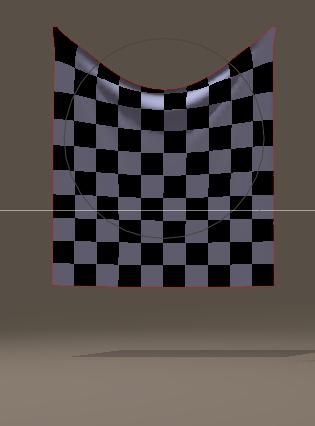
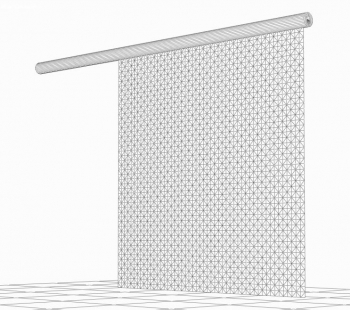
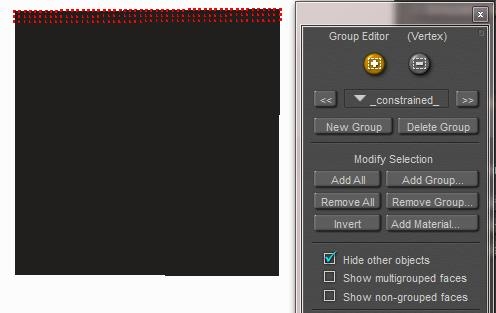
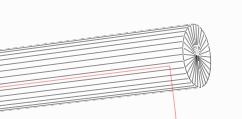
This way I can fix a banner or towel too, I just introduce a pole (cylinder), place the cloth object against (or even a bit into) it, and I add the top-row of corner vertex to the Constrained group instead. As long as the pole is not animated by itself, the points from the cloth are stuck in the scene but as soon as the pole gets moving, the pinned points of the cloth will follow.
The main differences with the choreographed group are therefore:
- I need a pole, and it needs to be one of the collision objects, and it needs to touch the cloth
- I animate the pole, not the cloth
- Anything that changes the cloth outside the simulation, like morphs, poses, animations, whatever will be ignored and overruled by the simulation. In the Choreographed case this already was the case for most of the cloth, but now it also holds for the remaining points in the constraint group, pinned to the pole. The simulation makes them follow the pole now, even if the cloth was not parented or conformed to it.
- Soft decorated group
this is meant for pockets, belt loops etc which are attached onto the cloth, and can deform so they follow the moves and deforms from the sim calculations too, but indirectly. The cloth itself is deformed and the decoration follows.
Note that “attached onto” is something different than “integrated into”. I’ve got to be able – at least virtually – to rip the decorations off without leaving holes in the cloth. In 3D mesh terms: they have to be separate sets of vertices. A pocket or so which is integrated into the cloth mesh results from displacing a set of vertices either explicitly in the 3D model, or by a morph upon that model, or by a displacement map.
The first way is fruitless; all that kinds of explicit vertex displacements will be undone by the cloth simulation. The morph is something else: just turn the morph-dial to 0, run the animation, and turn the morph-dial to 1 again (tip by PhilC, thanks). The displacement map is something to try, but like the morph: the underlying cloth might deform a lot and the result might not be that realistic.
- Rigid decorated group
this is meant for buttons etc which are attached onto the cloth, will follow the moves of the underlying cloth but will not deform themselves.
As with soft decorated: the vertices of those groups are not included in the sim calculations but are added back onto the cloth afterwards. This is why I must not make holes in the cloth when defining those attachments: it will cause the sim to run on cloth with holes in it.
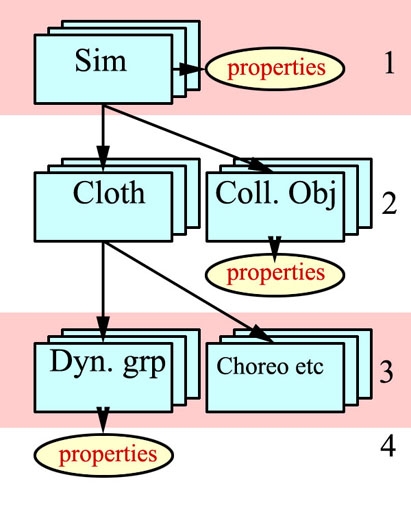
The main thing however is in the Dynamic Group(s). There is always one: the “_default_” contains all the vertices which are not put anywhere else. But I can define some more myself. So, each cloth element consists of at least one dynamic group, and one of each aforementioned groups which might be empty. Each vertex in the cloth is in one group only. The sim calculations actually run on the vertices in the dynamic groups (only!). So why does one need more than one dynamic group?
Panel 4. Dynamic Controls
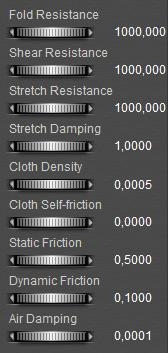
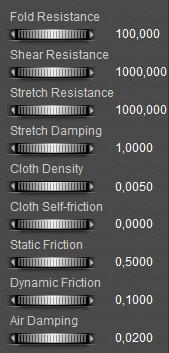
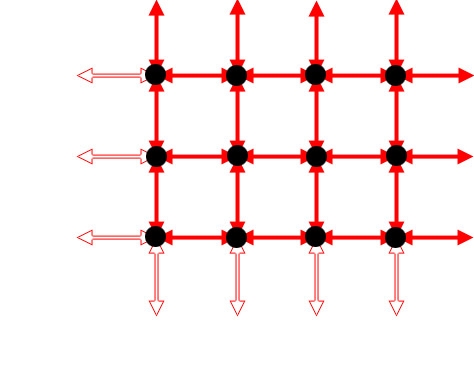
In panel 4, the sim relates to the real world. For each dynamic group in each cloth element in each sim, the physical properties of cloth behavior are defined (see the scheme). This is why a dress made of linen, lace and leather parts can get different behavioral properties for each kind of material used.
This is also why the group editor, used in the previous Cloth Groups panel, offers an Add Material option. I like to have a part of the dress that looks like leather, to behave like leather too. More on physical properties in chapter Cloth-Sim Side (part III)
and chapter Cloth-Real World (part III).
The [Reset] button just refills the physical properties with the default values, and [Clear Simulation] discards the results for that sim derived earlier. [Calculate Simulation] does the job, and presents a progress meter which also tells you the time (in sec, with a lot of irrelevant decimals) it took to handle the calculations for the previous frame. Large values indicate problems, unusable results and instable calculations ahead. A sign to break up the calculations and try different settings. More on that in chapter Quick clues & Recipies. Poser 9 / Pro 2012 offer the feature that when a sim goes wild completely, the calculations are terminated and an error message is shown.
[Play] does the same as the play button in the animation panel, the [Esc] key stops the play and returns to frame 1.
Animation
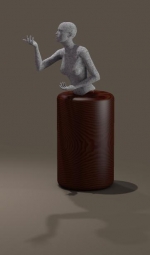
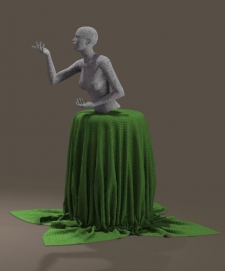
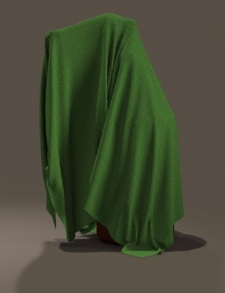
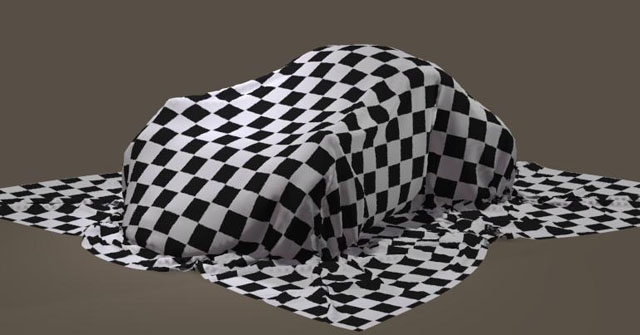
Cloth needs time to drape and to settle, Poser handles time through animation. In the simplest case of a sheet of cloth over a car or statue, I’ll have to start with the cloth held above it, and let it go. After a few seconds (each lasting 30 frames) the cloth collides with the object, the folds and wrinkles kick in and I get my result.
From a technical point of view, the cloth vertices have to change position. This requires some velocity and time. The velocities have to build up, as the cloth vertices stand still at the start. This requires acceleration, and time as well. The acceleration comes from forces acting upon the cloth, and those forces either are presented by the Cloth Room (gravity, wind), either by the interaction between the cloth and objects (friction), either within the cloth itself (resistance to stretch or fold).
So, given the position of the vertices in the cloth (determining its shape and position), given the forces acting upon them, the cloth and so the sim routine need time to get the job done. Time as in: animation frames, like a piece of cloth needs time to fall on the ground in real life as well. Poser time. That’s a different sort of time than my time, waiting for the sim to step through the frames, and spending time on the calculations. But of course, the more frames, the longer I’ve got to wait for the result.
While getting a result for a single image takes Poser time, I can make animations as well. While objects and body parts move along, the cloth shape keeps adjusting itself to the new situations that present themselves frame after frame. From the notes above, I appreciate that the first series of frames is needed to settle the clothes, and then the scene itself can take its own route.
For clothes on posing figures, and for cloth in more complicated final positions, we might need a process that’s somewhat in between just giving time for the cloth to settle, and a full animated sequence for the sake of it. A girl in a dress being seated requires the cloth to flow gently between her back and the chair, and then between her thighs and the seat. Like in the real world: it’s hard to get your clothes on while being seated and sitting still, so is the case in Cloth Room. I’ve got to animate the girl, and perhaps the chair as well, to get the desired results. The same with tucking in a blouse or shirt into some jeans. Ever tried that yourself while taking a deep breath at the same time? It does not work, you’d better exhale firmly, so there comes room for the blouse or shirt between the body and the pants. The same with strapping a belt around a waist while wearing a dress. No-one puts on the belt first and tucks the dress in, everyone wears the dress first and then tightens the belt.
Note that conforming and morphing clothes can take a rather good start position , and need far less animation and settling time than non-conforming cloths (props) that miss these features and have to start at zero (T-) pose or so.
To my experience, the best results can be obtained by looking how thing work in the real world. Things that work out there, often come handy in Cloth Room. Things which do not work out there, might not work in Cloth Room either. Generally, this is my approach in handling Cloth Room, and in problem analysis. What do all the settings mean in real life, and will it work out then? When that’s unlikely, I alter the appropriate settings accordingly.
In the meantime, Poser is software. It will not get angry or disappointed when I pull it some legs, or just cheat. I’m not presenting any theories on that, I will give examples instead. In a number of elaborated Case Studies (part I), related to this tutorial.
Additional notes on the panels
- Panel 3: all vertices start in the _default_ dynamic group, and when they are assigned to another group they get removed from the group they were in. So, all vertices are catered for, and each one is in one group at the time only.Bug report: Except for vertices in the Rigid Decorated Group, which are NOT removed from another group. The other way around does work properly (when in the Rigid group and then put in the Soft group they disappear from the Rigid group). Therefore, vertices can be in one group only PLUS in this Rigid group. Not repaired in Poser 9 / Pro 2012 yet.
- Panels 1, 2 and 3 present lists by an arrow and the selected item next to it. The list opens when clicking either of them. Except for panel 3, where the arrow is mute. So click the item-name instead. Repaired in Poser 9 /Pro 2012.
- Panel 3: All [Edit … Group …] buttons open the editor panel. The top half is quite straightforward, I can recommend the Add Material option for multi-material cloth pieces. If have not done much work with the bottom half yet. Note that there is a decent chapter on the Group Editor in the Reference Manual.
- Panel 4: [Reset] does not reset the Stretch Damping (bug reported end of 2010). Its default value is 0.01
Please note that when you change a cloth item in panel 2 (or by selecting it in the preview window itself), this Group Editor panel does not follow!! It still points to the earlier cloth item, so you might end up looking at the wrong group. Just re-click one of those [Edit … Group …] buttons in panel 3 for a refresh.
What’s more to say?
Well, in practice people experience various problems and like to have a magic bullet, or at least a recipe, or a clue where to look. For that purpose, I’ll present:
And of course, there is more detail and background information to enhance the use and understanding of the Cloth Room. For that purpose, I’ll present (in part III):
- How a cloth sim relates to physics parameters in general (Cloth Parameters – Sim Side)
- What the physics parameters mean in real life (and what the related Poser values are) (Cloth Par – Real World)
- How a single sim relates to all the other sims in the collection (List of sims)
- How a single cloth sim calculates (sim engine)
- How a cloth sim relates to the 3D mesh of the cloth elements (Mesh behavior in short)
In Pose Room, I am boss. In Cloth Room, reality is. For some, Pose Room and Cloth Room are both about clothes, and one is an advanced case of another. For Poser, Pose Room is about figures, and just for me: some figures are clothes. For Poser, Cloth Room is about cloth simulation, and just for me: some cloth are clothes. I know about clothes, Poser doesn’t at all. It’s Cloth Room, not: Clothes Room.
For me, Dynamic Clothes relate to Conforming Clothes as a Formula 1 car relates to a bike. Both have two pedals, gear switching in the steering wheel, sporty clothes are handy and for both a helmet is required. Both have their use, and Ferrari (read: SM) is not going to build a “F1-car for bikers”, and a handy “F1 dashboard wizard” will never happen, I guess. I would appreciate it, but we have to learn to live without, I’m afraid. Sorry.

