Nodes are the essential building blocks in the Advanced interface to the Poser Material Room. They are the graphical representation of mathematical function calls, that is: calculation procedures which turn parameters (inputs) to a result (output).
Intermediate
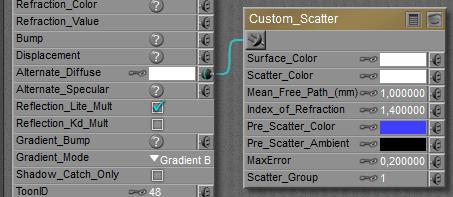
Like all special nodes, the CustomScatter node also provides diffuse, specular and eventually more as an all-in-one offer. Just black-out (or nullify) the regular Diffuse, Specular and other properties of the PoserSurface, and plug the node into Alternate Diffuse.
This CustomScatter node provides the raw parameters for Subsurface Scattering, as are addressed indirectly by all presets from the dedicated nodes. It does use the subsurface scattering as referred to in the Render Options. It’s offered from Poser 8 / Pro 2012 on.
The node takes the Pre-Scatter texture (might be an image map) and eventually some Pre-Scatter Ambient as well, scatters that around within the object surface layer while filtering it with the Scatter Color (white is: no additional coloring), and then the light leaves the surface layer while being filtered by the Surface Color parameter, So the Pre-Scatter Texture will get blurred while the Surface Color texture will remain sharp.
MaxError is a speed vs quality setting, large values (up till 1.0) give high speed and lower quality, low settings give higher quality (more scatter bounces within the layer, I guess), at the cost of longer render times.
The scattering itself is defined by
- Main Free Path, in mm, the distance a scattered light ray can travel before being scattered again. In a cellular structure like skin, the cell-size might be a good start. This is about 0.15 mm for human skin, and say twice as much for some plant leaves. For suspension fluids (milk, ketchup) smaller values will apply. This value is also a measure for the skin layer thickness, and as milk and ketchup don’t have any in real life it’s my artistic taste only which really counts in the end.
- IOR or: Index of Refraction, is determined by the stuff the skin layer is made of. The default 1.4 is fine for troubled water, while 1.8 is the value for glassy stones (as marble). I tend to stay in the 1.2 … 2.0 range to keep a sense of realism.

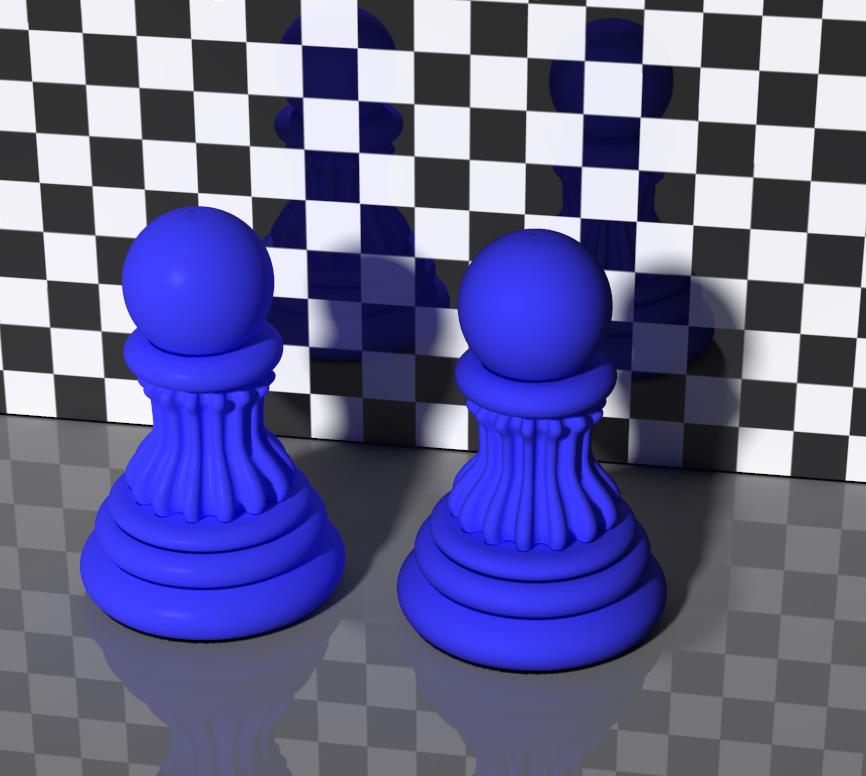
In the following render, the left pawn shows regular diffuse and specular. The right pawn shows Custom_Scatter with the settings as above, while having the object color in the Pre_Scatter_Color swatch.

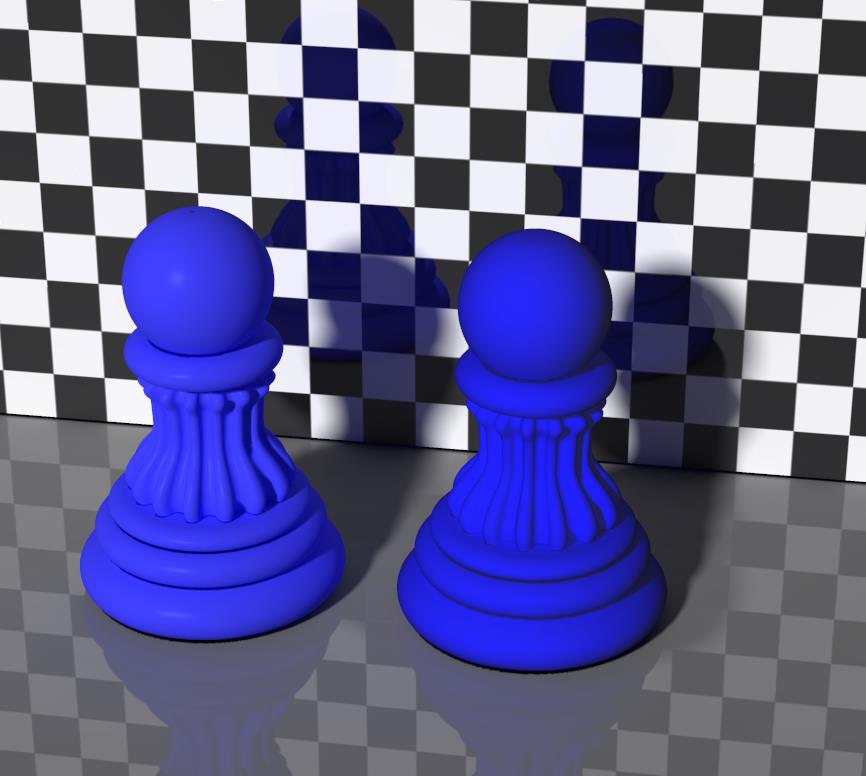
By assigning the object color to the Surface Color swatch too, the color filtering will be done again when the scattered ray leaves the object. This intensifies the colors significantly:

Next to all this, this article presents a comparison of the various skin and scattering nodes.