Although various configurations can be setup via Material Room menus, and can be managed through the Simple interface, this topic is considered Intermediate level. Next to that, managing the details of a scene Atmosphere requires the use of ‘cloudy’ nodes from the 3D Texture group, which by themselves are considered Advanced.
Intermediate
First, be aware that atmospheric effects can be created in post as well, while when done in Poser it might imply a serious extension of my render time.
A tutorial on Poser Render Passes, including atmospherics post work, can be found at http://www.book.artbeeweb.nl/?p=388 A tutorial on Poser atmospherics can be found at http://www.book.artbeeweb.nl/?p=3093
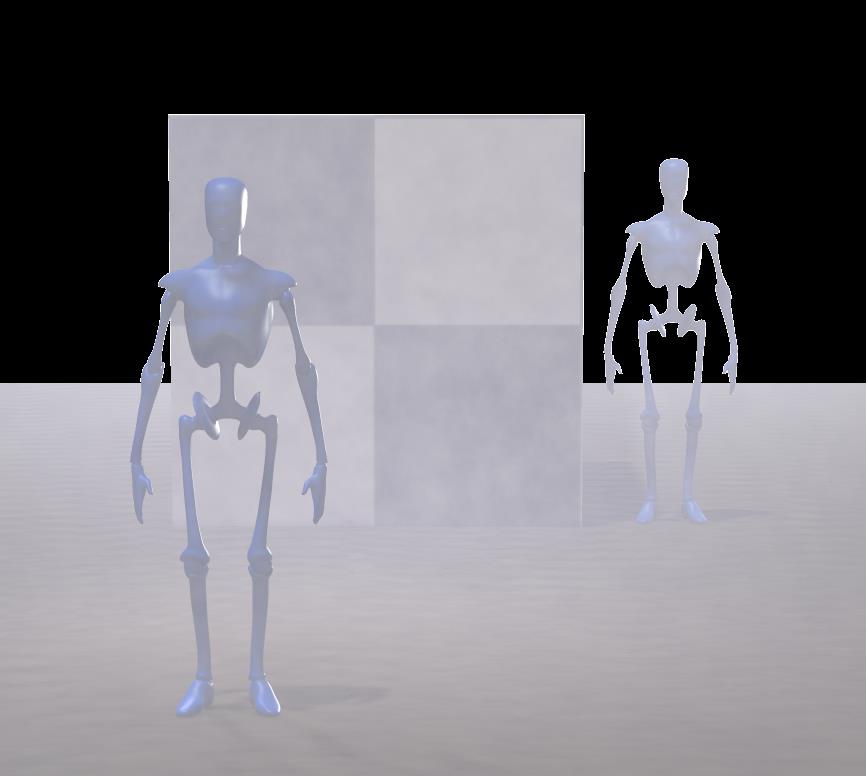
Second, Poser atmospherics reveal themselves only in front of an object in the scene. Any object bouncing light towards the camera will do. But in front of just a background color, a background picture or a background movie frame, the atmospherics remain invisible. Poser atmospherics do need a visible object facing the camera to get uncloaked. The color of the object is irrelevant, or better: the darker the object, the better a whitish fog will be visible.
For example: a nearby and a faraway character, a B/W colored box, the default ground floor and an “empty” background make:
So, how to do it? I enter the Material Room, click the [Create Atmosphere] button and select one.
How to alter the settings? In the Material Room, I use the list next to Object and select Atmosphere.
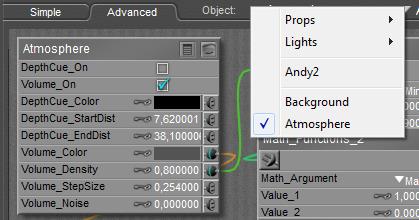
When using the Simple interface, the material looks like:
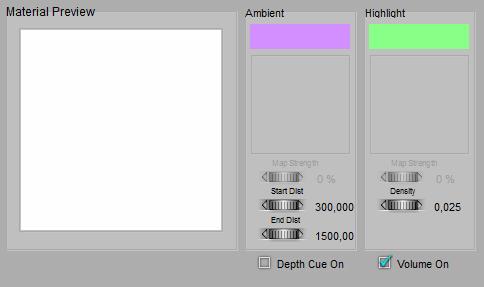
Note that the Simple Interface contains some bug (all Poser versions up to Poser 10 / Pro 2014), see below.
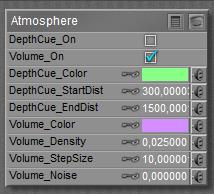
How to switch it off? The Atmosphere main node supports DepthCue as well as Volumetrics. Both can be switched on and off independently.
What about DepthCue and Volume? DepthCue is a quite uniform haze effect which colorizes the scene, depending on the distance of the surface to the camera. Volume is a smoky, cloudy fog effect which is located within the scene, not related to the camera position. Tip: in order to make an object or character disappear into the darkness, a dark fog can be used instead of a whitish one.
Advanced interface
When using the Advanced interface, I learned that
- Volume Step-Size and –Noise are not supported in the Simple Interface. These are quality-settings for better render results (at the cost of longer render times).
- The [Create Atmosphere] button can produce quite some node-tree to define such a material. ‘Cloudy’ nodes from the 3D Textures group will be present to drive the look and feel of fogs and alike.
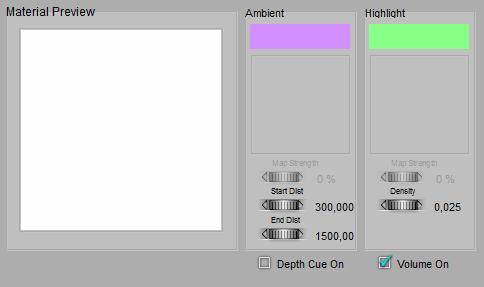
- From the Simple interface, Ambient matches Depth-Cue and Highlight matches Volumetrics. But I also find a bug (Poser 10 / PoserPro 2014 and before): the color and image-map assignments are reversed.
 =>
=> 
(The bug is reported to Smith Micro and will be addressed, some day).