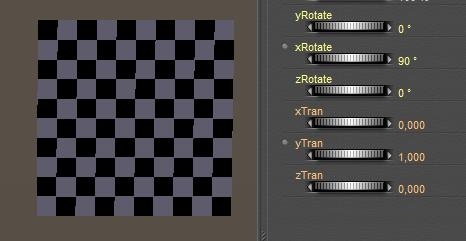
Let me show some basics on banners and flags. First I drag and drop a decent piece of cloth onto an emptied Pose Room:
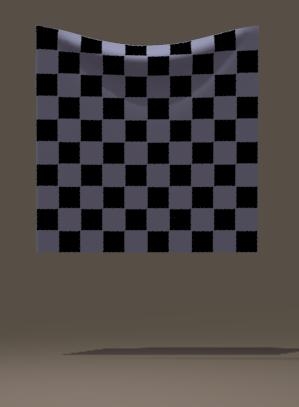
Then I put it in position (xRot=90, yTran=1 mtr) and assign it neat material. After switching to Cloth Room I create a [New Simulation…] (panel 1) and I [Clothify…] (panel 2) the sheet. There is nothing to [Collide Against…] so I can leave that one, I only need to [Edit Choreographed Group…] (panel 3).I decide just to select to top corner areas:
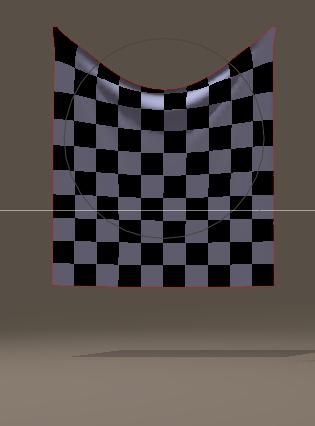
And now I can [Calculate Simulation…] for the first run. Perhaps I like a more flexible banner. I can do that by reducing all the resistances (friction and air damping won’t affect the result anyway). But instead, I can increase the Cloth Density as well, tenfolding to 0.05 for instance. The magic here is that the result is determined by the ratio of <parameter>/density, so reducing all parameters, or just increasing density, have a similar effect.Variations to this theme are: adding more points to the Choreographed Group, or adding the complete top row of vertices to it. Using only one corner turn the banner into a towel, which I can hang onto a wall or so. And, for a change, I can put both sides into the group, rescale (in Pose Room), and reset the Cloth Density to its original 0.005 :
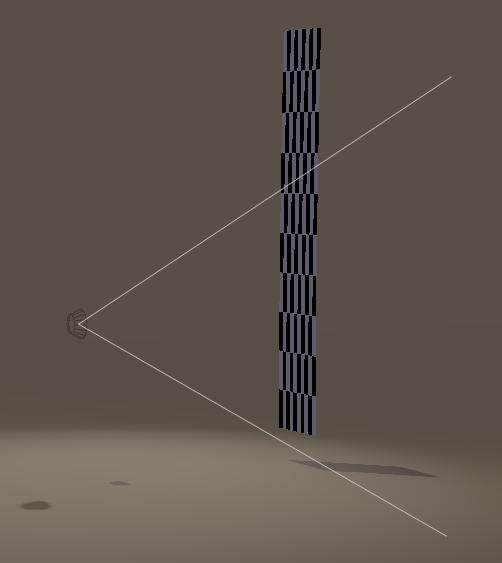
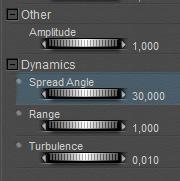
When to cloth continues to wobble up and down, I need more frames (in Simulation Settings, try 90) and/or I have to pump up the Stretch Damping to say 0.1: When banners are hanging outside, the wind will play with them. Let’s see how that works out in Poser. By now, we know how to hang a banner (top row of vertices in the choreographed group) and prepare it for simulation. In panel 4, [Reset] will bring back the default values (except for Stretch Damping, a Poser bug still not fixed in P9/PP2012 SR2. It’s not you). I can make a test simulation if I want to, to check the effects of the settings. Now (in pose Room) I rotate the camera a bit to get some side view, and by menu Object > Create Wind Force I add a ventilator. Using the various camera position (Front, Aux, …) I position the ventilator somewhat at the bottom half of the banner. I also set the parameters:Amplitude is left at its default: 1,
Spread Angle is reduced to 30, it narrows the stream bundle width,
Range, beyond that no winds will blow so it has to reach beyond the banner at least,
Turbulence, just a bit for the fun of it.
And now, in Cloth Room, I can [Calculate Simulation…].
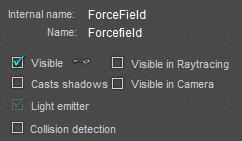
In most cases, the source of the wind is not what should be seen in the render, so I uncheck the visibility options in its properties. And render the result.
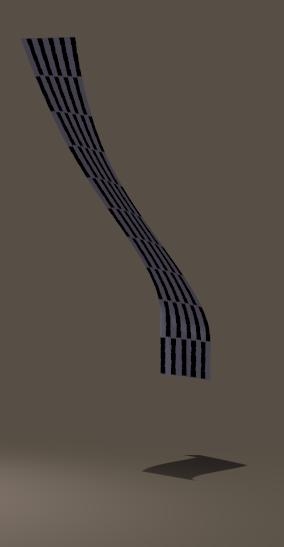
<= hanging vertical banner with wind.
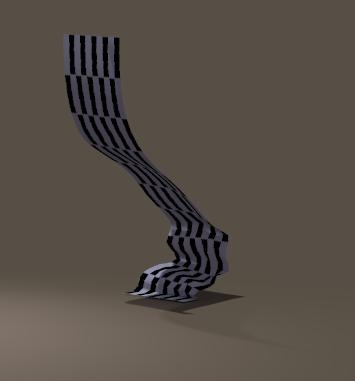
Now, let’s discard the entire Choreographed Group which keeps the top of the banner in place. Then the banner will fall, while the winds are blowing. In the editor (Cloth Room, Edit Choreographed Group) I [Remove All]. And…
I have to add the Ground for a Collision Object (panel 2, Collide Against, check Ground). Otherwise, the cloth will fall right through it. Then, [Calculate Simulation…] again:
Note that even when the cloth is completely on the ground, the wind will keep blowing it away depending on the (dynamic) friction, until the cloth is out of range of the ventilator.
WARNING: in Poser 9 / Pro 2012, Service Release 3 (SR3), the Wind Generator in Cloth Room is BROKEN. You won’t get any effect. It’s not you, it’s a software bug

