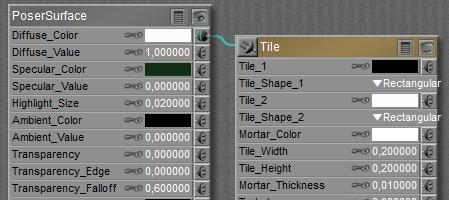
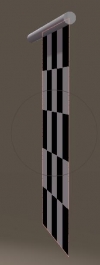
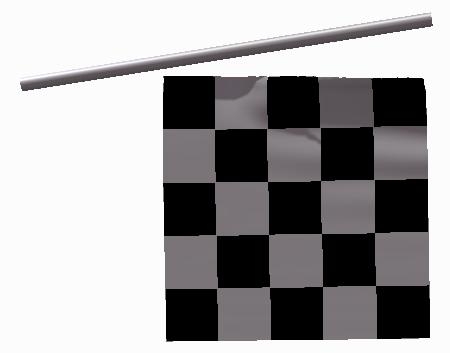
Since the car has escaped its covering cloth (see the Pin and Move II section), let me create a finish flag. So I import (or drag and drop) the 1×1 mtr X-tri cloth (in the download), give it a Black & White tile material:
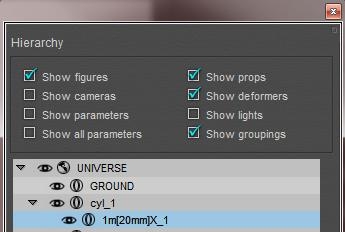
and put it in upright position. I also get a standard Cylinder (Library, Props, Primitives) which I scale into a flag pole (20% overall, then 3000% in Y) and put in such a position that it intersects with the top vertices of the flag.
| The next step is to animate the pole, and after that I’ll use Cloth Room to drag the flag with it. Pole first. |
In the properties pane, I select my camera and switch off Animating, so I can freely move without seeing that back into my result.Next I set the pole: zRot = -90 at frame 1, zRot=0 at frame 30 and zRot =-90 again at frame 60.
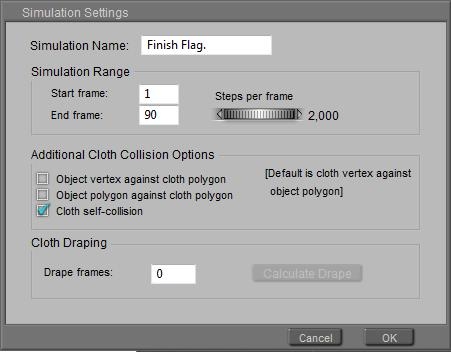
In Cloth Room, I create a [New Simulation…] (and call it Finish Flag for the sake of it) with the end frame set to 90 as I need 60 frames (2 sec) for the pole to animate, and then I like another second (30 frames) for the flag to come to rest. This might look better when I’m repeating the final result.
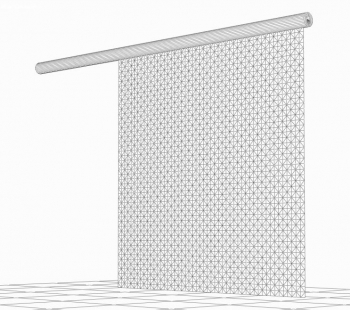
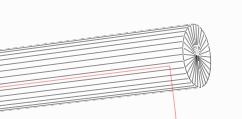
Since (see the wireframe) the cloth polys are fine compared to the pole I might not need the extra collision options but the waving flag will collide onto itself, especially around frame 30 when the flag still is going up somewhat while the pole is coming down already. I don’t need extra drape frames at the start.Then I [Clothify…] the flag, make it [Collide Against…] the pole, and leave all other settings to their defaults.
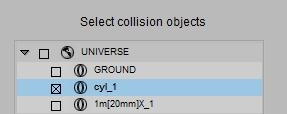
Now I have to fetch the flag to the pole, in such a way that the top vertices of the flag behave like nailed to the vertices and polys of the pole. The pole is in the collection of Collision objects, so putting the flag vertices in the Constrained Group will do.
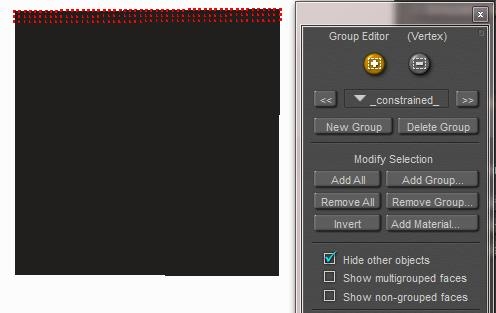
[Edit Constrained Group…] opens the editor, and checking Hide other objects gets the pole out of the way for the moment. I select the top three rows (the pole and flag intersect somewhere between row 2 and 3), uncheck the Hide objects and close the editor.
Note: when I forget to uncheck the Hide option I might need to make them visible again by using their own Properties setting, which might end up quite tedious when there are a lot.
For this demo I leave the cloth properties in panel 4 at their defaults (fine silk-ish), save the scene, and [Calculate Simulation].
It might come as a shock, but the flag falls off immediately. The Constraining seems to be without effect.
- Animate the flag itself
- Change the pole
Animate the flag
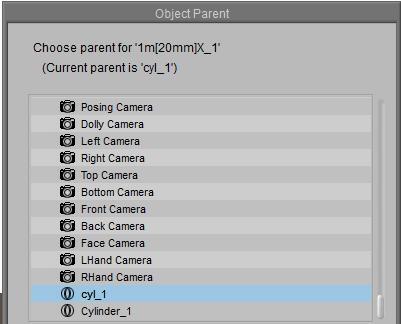
This makes the pole the Parent of the flag, and the flag the Child of the pole. Hence it will follow it’s movements.
An alternative way to do this is: menu Object > Change Parent (NB: menu Figure . Set Figure Parent won’t work as the flag is a prop, not a figure).
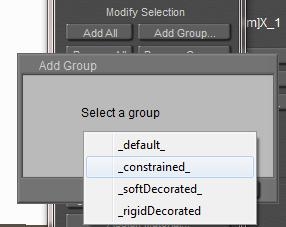
Now I have to tell Poser that some vertices of the flag should not follow the dynamics simulator, but should follow its animation (which results from following its parent, the pole). So, in Cloth Room, I [Edit Choreographed Group…], I click [Add Group] and I select the _constrained_ group. This puts the previously marked vertices into the other group.
To avoid confusion, I also [Edit Constrained Group…] and click [Remove All]. Actually, as each vertex should be in one group only, I would expect this group to be empty after the transfer but apparently Poser it not working that way when using the Modify Selection buttons. Maybe a bug, maybe a feature J.
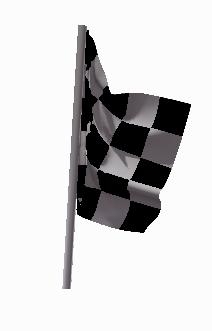
Anyway, after [Calculate Simulation] I get the result I wanted, as the figure at the left shows (frame 33).
Change the pole
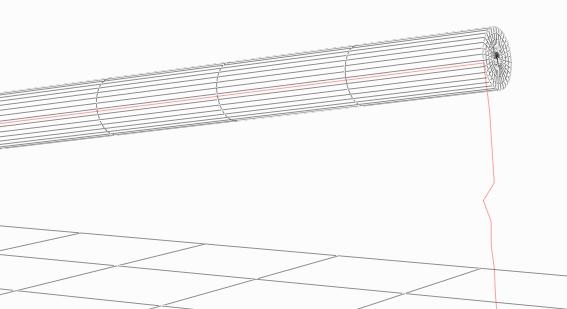
In other words: I want to nail the flag to the pole, but no nails are used. So I can look in the Library for a cylinder with several intermediate points, and shorter polys along the body. In Poser 9 / Pro 2012 the Morphing Cylinder prop is a nice one. It needs some extra care as the point of rotation is in the middle and not at one end so is has to be shifted first, but okay.
As you can see, it does not offer that much extra vertices and after [Calculate Simulation] I do find some improvements, but not that much. The flag is nailed to the pole but given all the forces on the flag, this small amount of nails can hold the flag for just a few frames only.
Conclusion
When using Constrained grouping, ensure that the cloth vertices meets enough object vertices to make the constraining actually happen. Objects with a low mesh-density or areas with large polys make the constraining hard to establish.
But as I illustrated, a simple animation of some vertices in the cloth can do the job as well, in some ways. And I illustrated the use and differences between the constrained and the choreographed groups.
